


Setting Up Sculling Blades: A Beginner's Guide to Oar Length and Inboard
How oar length, inboard and blade type set your sculling gearing, plus simple measurements and small adjustments any new sculler can check before changing their own set.

Almost every new sculler has had the same afternoon: the boat feels tender, the blades grab a fistful of water on one stroke and skim on the next, and the advice from the bank is "just relax". Relaxing helps. So does checking your oars. Length, inboard and blade type decide how the whole thing feels underneath you, and unlike balance, they are easy to measure and easy to change. Here is how the pieces fit together and what to look at before you touch anything.
Gearing, in plain terms
Gearing is the word rowers use for two connected things: how hard the oar is to pull, and how much ground each stroke buys you. Heavy gearing feels solid and slow to accelerate; it rewards good technique and punishes sloppy catches, because the blade keeps loading even when you are not ready for it. Light gearing feels quick and forgiving, spins up easily, and lets a tired sculler keep the rate without falling apart.
Three things set the weight of your gearing: how far the blade sits from the pin, how much blade area you are dragging through the water, and how far apart your pins are. Move any one of them and the boat feels different, even though nothing about your technique has changed.
Length, inboard and the lever between them
Oar length is measured from the very tip of the handle to the furthest point of the blade. Inboard is measured from the tip of the handle to the face of the collar that presses against the gate. Subtract one from the other and you have outboard, the part of the oar doing the actual work.
Outboard is the lever, so it is the number that matters most. Adding inboard, which means sliding the collar towards the blade, shortens the outboard and lightens the gearing even though the oar is exactly the same length. That is why inboard is adjusted in millimetres and centimetres rather than handfuls: a centimetre of inboard is a noticeable change to the load, and also to where your hands end up at the finish.
How to measure your own set
You need a tape measure, a flat surface and ten minutes. Do this on a still day, not on a pontoon in a crosswind.
- Lay both oars flat on the floor or a dock, side by side, blades pointing the same way.
- Measure total length from the handle tip to the outer edge of the blade.
- Measure inboard from the handle tip to the gate face of the collar, the flat side that sits against the gate.
- Repeat on the second oar and compare. If the two differ by more than a few millimetres, something has slipped and you should find out why.
- Note where the collar sits and mark the shaft with tape or a paint pen if you want a setting you can return to.
- With the boat rigged, measure span: centre of pin to centre of pin.
One warning on measurement: people and manufacturers do not all measure inboard to the same point on the collar. Write down which convention you used, or your numbers will be useless six months from now. And if the oars belong to your club, ask before you loosen anything.
What inboard does to your hands and body
In sculling, the handles overlap at the finish, with the left hand passing over the right. More inboard means more overlap: hands closer together, quicker to the finish, but a short step from knocking knuckles on every stroke. Less inboard spreads the hands apart and makes you reach further at the catch with arms that are already stretched.
Inboard also shapes your body angles. Too little of it and you finish by laying back further than you would like; too much and the finish feels cramped, with the handle arriving at your ribs before you have sent the boat anywhere. If your hands and your layback both feel wrong, inboard is worth a look before you blame your core.
Blades are the third variable
Modern hatchet or cleaver blades carry more area than the older symmetrical shape, which means more grip and more load for the same shaft. Blades also come in different sizes, and a large blade on a standard shaft with standard inboard is heavier to pull than a small one.
Shape matters as much as area. A long, narrow blade has its centre of area further from the pin than a short, wide blade of the same size, so it feels heavier at the catch even on identical numbers. Keep blades with their matching shaft and do not mix one of each into a pair. Many clubs keep a set of smaller blades for newer scullers, and if yours does, that is a legitimate rigging choice, not a demotion.
A sensible starting point
Typical club sculling setups sit somewhere around 282 to 288 cm of length, 86 to 89 cm of inboard, and 158 to 160 cm of span. Newer and lighter scullers usually do better at the lighter end of that range, either with a shorter overall length or slightly more inboard.
Treat those figures as a neighbourhood, not a prescription. Boats, blades and bodies differ, so check your coach or the oar maker's chart before you commit. When in doubt, err on the light side. You can always add load once your technique can carry it, and a sculler who is not fighting the oars learns faster than one who is.
Change one thing, then leave it alone
Rigging goes wrong when people change three things at once and then cannot tell which one helped. Work in small steps: half a centimetre of inboard, or a centimetre or two of length. Test on the same stretch of water, in the same boat, at roughly the same rate, and give each change two or three rows before you judge it. Write down what you did and how it felt. A note on your phone is enough, and it will save you from rediscovering the same setting next season.
The five-minute check before your next row
Before you push off, confirm that both oars match, that the collars are tight and sitting where you left them, and that you know your own numbers. If you are unsure about drilling, cutting or sanding anything, do not. If you change something on club equipment, tell the person who looks after the boats, because your improvement is somebody else's mystery otherwise. Get the three numbers right and the boat stops arguing with you, which leaves you free to work on the part that actually takes practice.
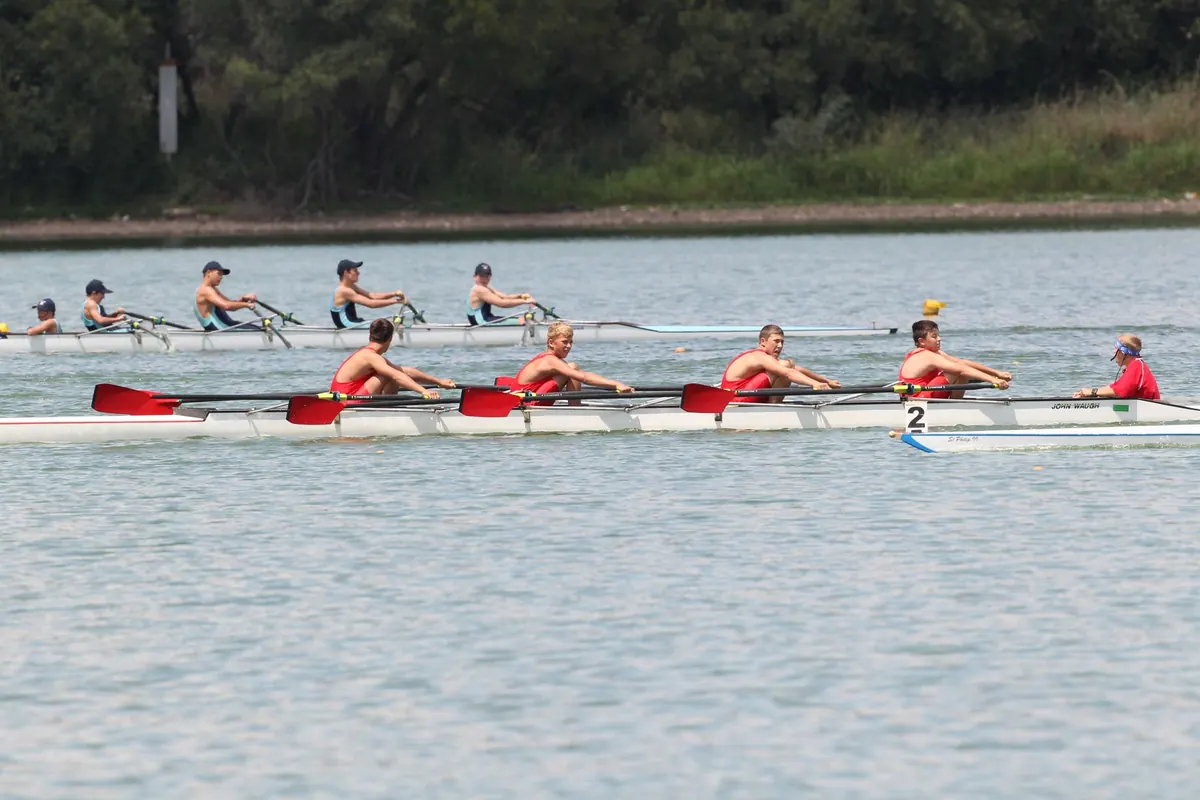
Photo: Wolfgang Weiser / Pexels